
Jekyll is known for building static blogs to be hosted on Github. What makes it special is its minimalist design and fast page load speeds.
Unlike WordPress, Jekyll does not have any database in the backend, which is one of the main reasons which makes the blogs built on Jekyll faster.
Also, Jekyll blogs can be hosted on Github free of cost which makes it economical when compared to WordPress.
But setting up a Jekyll blog/website for the first time is a bit of a difficult task. In this post, I will explain to you how to set up a Jekyll blog on your localhost using the command line. Before executing the below steps please make sure Ruby is installed in your system.
- Open the Command prompt and navigate to your directory where you want to create the Jekyll files.
-
Type the below command and press enter.
gem install bundler jekyll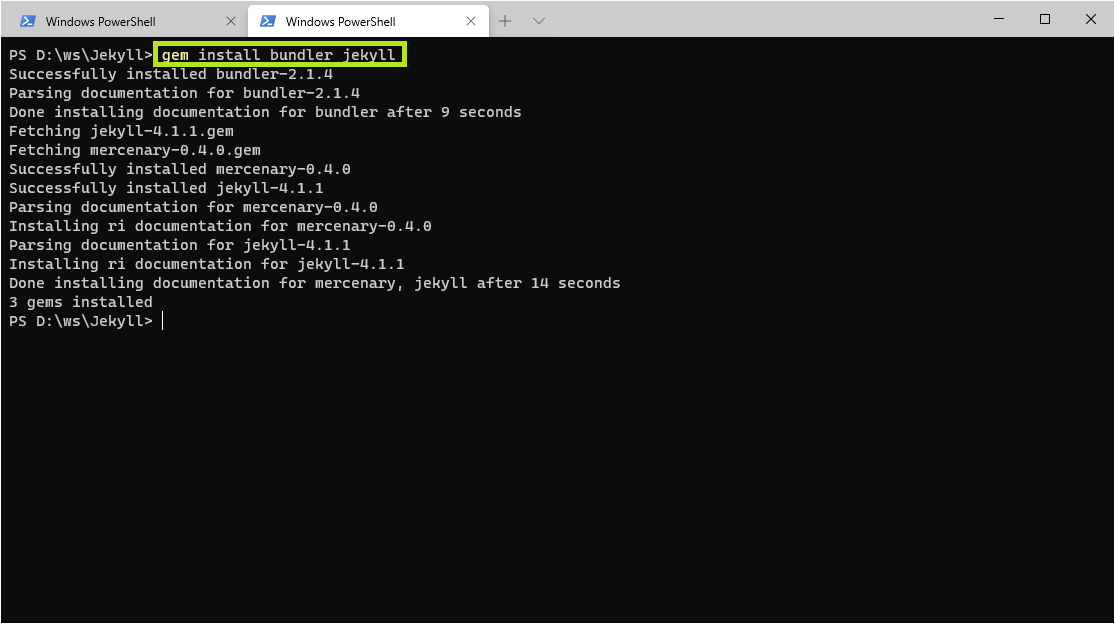
This will install the Jekyll bundler to your machine.
-
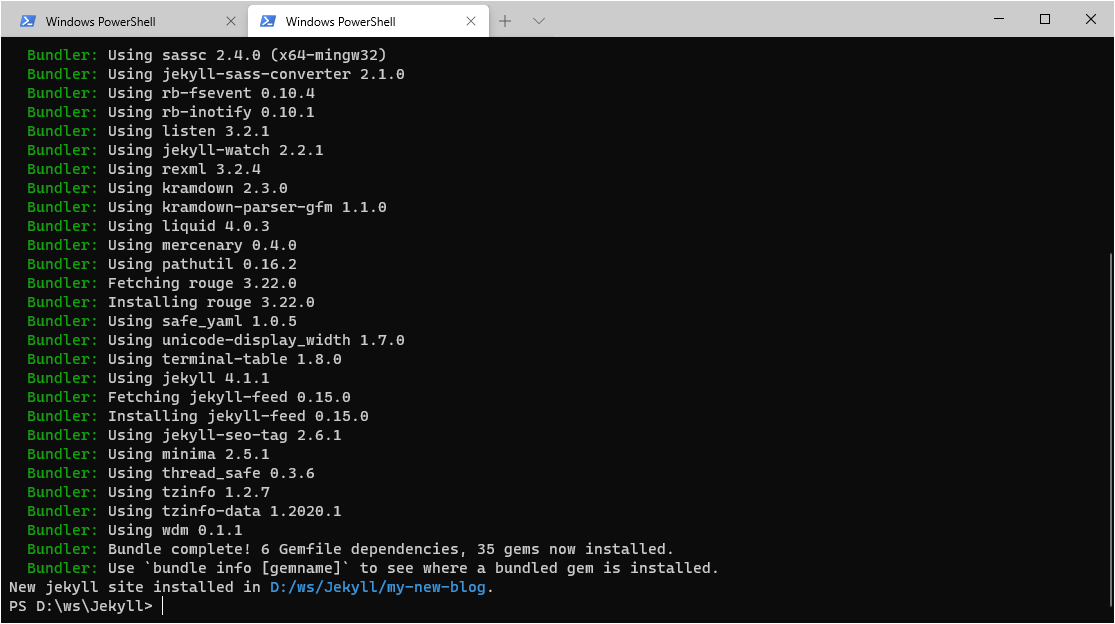
Now to create a new blog, type in the below commands. Replace ‘
' with the name of your blog ` jekyll new
` 
-
Navigate to the blog directory in the command prompt and type in the below command to start the localhost server.
cd <blog-name>bundle exec jekyll serve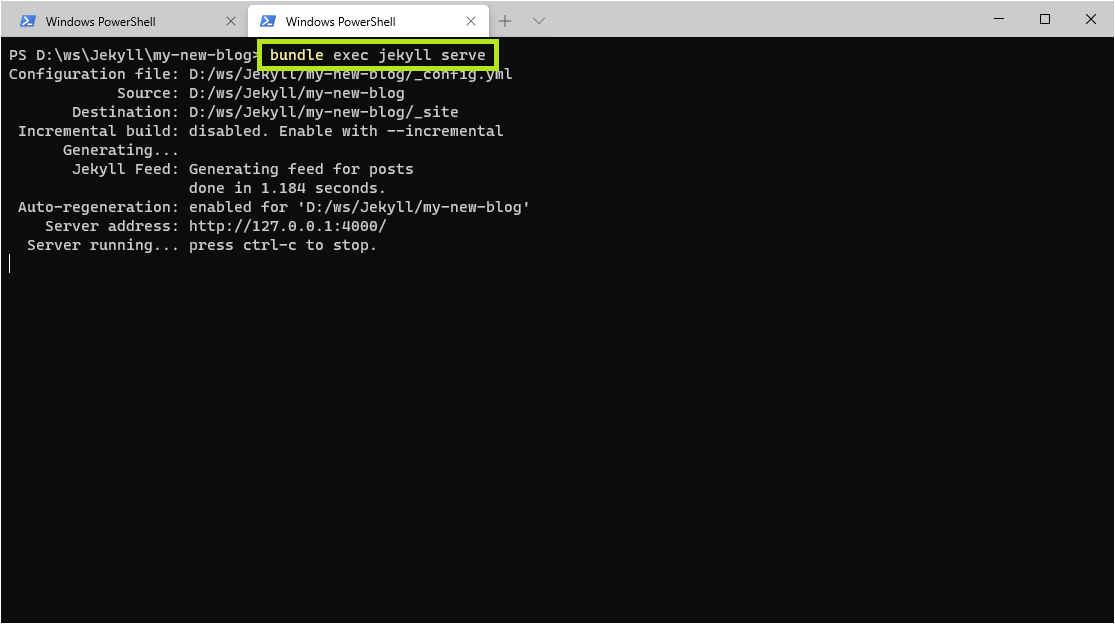
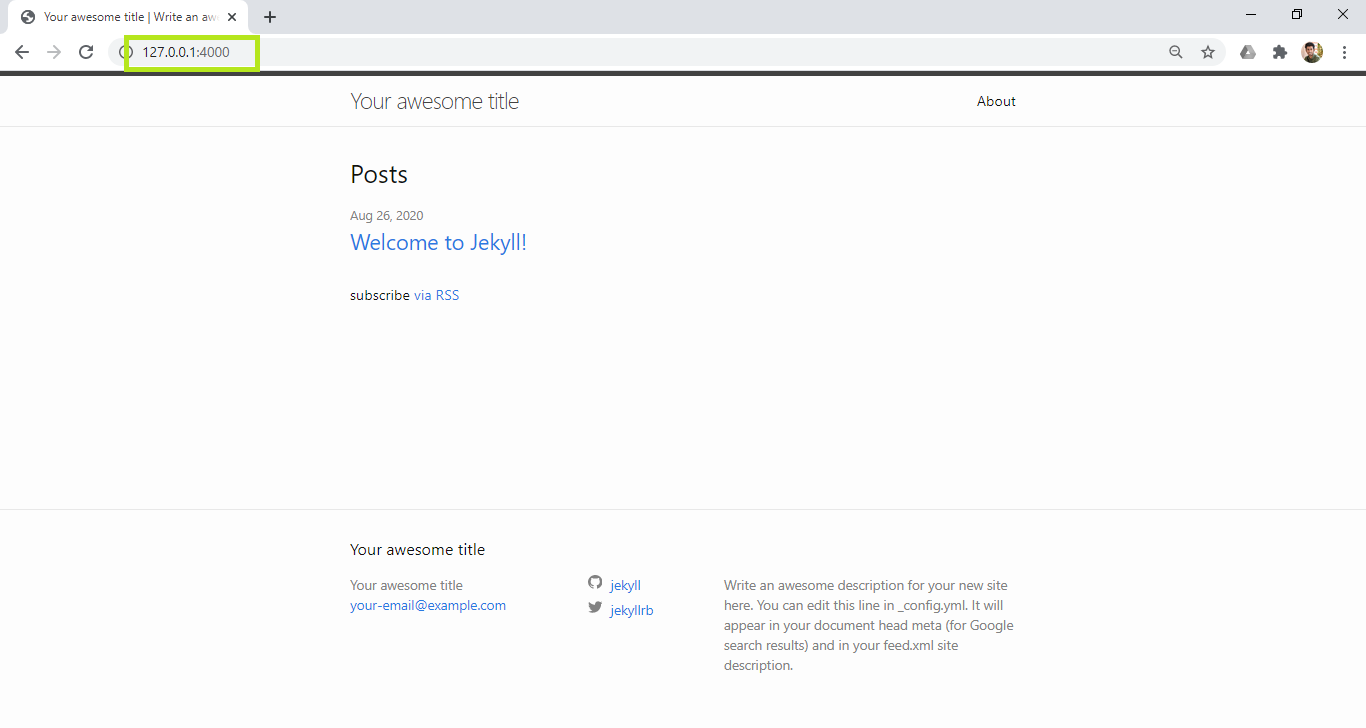
Now the blog will start running on the localhost. Open any web browser and go to http://localhost:4000/ or http://127.0.0.1:4000 to view the Jekyll blog you have created through the command prompt.


Start the conversation